Friday, January 18, 2013

Frugal Laundry Soap

As I continue to try to find ways to save money and live healthier, I've looked at the cleaners in my life. I've learned to make my own, homemade soap, made it into liquid soap (another blog to come up soon!) use baking soda and vinegar in myriad ways. (newest favorite use? Vinegar as fabric softener.)

There are a few cleaners that I'm working on ridding myself of.  Toothpaste is high on the list, but I know I won't shift my family from their traditional usage.  Floor cleaner is another.  But a few days ago, I tackled laundry soap.  Since I do the bulk of the laundry, this showed promise.

I've known for a couple of years that to make laundry soap, I would need borax.  Looked in hardware stores, grocery stores, etc. and hadn't been able to find it until recently.

There are a few recipes out there, and after reading and patching together, this is what I came up with:


1c. Borax
1c. Washing Soda (can't find it? read this tutorial here on how to make it!)
1 bar of soap, shredded (not beauty bar. Fels naptha is an excellent choice, Ivory would be--though I'm personally allergic.) between 5-8 oz.
1/2 c. baking soda (not to be confused with washing soda)
another possibility that I found in a number of recipes that I didn't add, but you could, is a cup of Oxyclean. 

First, you are going to need to shred your soap. Use the fine side of a shredder. (Thank goodness I got a box shredder for Christmas!)
Now, I will also say, I made a double batch, and the second bar of soap was one of my homemade varieties. When I shredded it, it was a much moister, softer soap than the Fels-Naptha.  My mother had also told me, that the Fels-Naptha became popular during WWII because of its ability to wash in hard and salt waters. So for me, I feel more comfortable using half and half, than ALL homemade soap.)

Now, while Borax is NOT boric acid, it is caustic to your eyes.  It is also dusty, which I knew, but didn't take into consideration.


Please learn from my mistake, and even if you feel a bit foolish, wear eye protection.

I had put all the ingredients in my gallon glass jar, and started to mix it up--and flung some right in my eye.

Tip of the day:
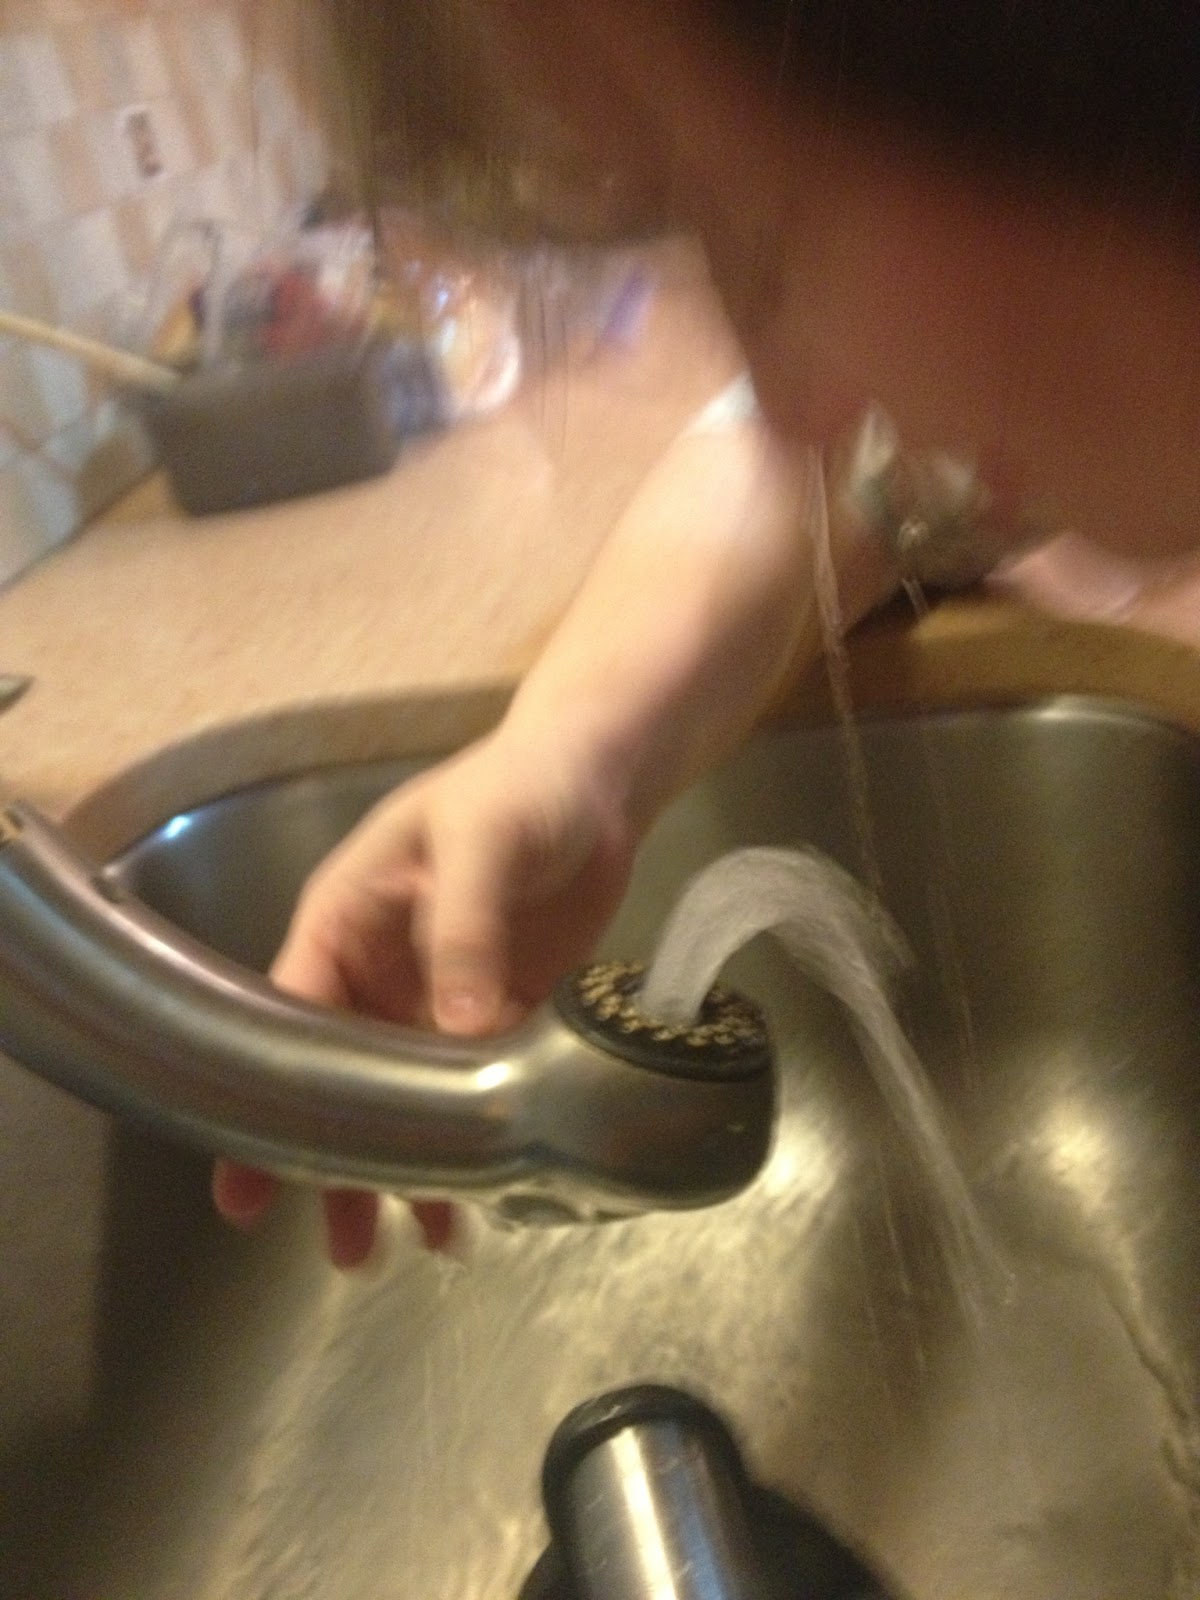
If you have a pull out sprayer on your sink. pull it out, and flip it upsidedown. Turn the water on only slightly, enough so it bubbles up about an inch over where the water exits on cool, but not cold. This will allow you to use this as an eye wash.  Use for 5 minutes, blinking your eye slowly.  You may want to use eye drops after to return the salinity to your eye.

Some bloggers/creators suggest after shredding your soap, putting it through your blender.  I have to admit, I didn't like this idea.  It's only soap. I get that. So what I did instead was use my immersion blender that I use for making soap.  I wouldn't let it run continuously, but would shimmy it around and work in pulses.  The shaft of my comes off, so in future batches, I'm going to cut off the top of a soda bottle, fit it on the shaft to create a sort of splash guard over the top of the jar as it can kick up dust if you aren't careful.

The result is safe to use in front loading HE washers, and takes 2 tablespoons. I use an old medicine cup to measure out the soap. (I think the scoops from powdered lemonade, etc would work as well.)

The laundry came out of the drier smelling like I had hung them out on the line--beautifully fresh, and soft and clean.  Bonus too, my washer, which can sometimes smell a bit mildewy also smelled clean!

I've heard cost breakdowns between 3-5 cents a load. Since half my soap is homemade, that would go down, and when I run out of bought washing soda, I'll make my own--which costs about 1/2 of what you would buy it for, even less still.

The last note is in all my reading, I have heard this soap is very hypo allergenic, so it can replace baby laundry soap and be used for people who have other soap allergies. (of course, this probably wouldn't be true for everyone...but in general a good thing to know!)

Tuesday, January 15, 2013

Re-utilizing old sheets

Today's quick tip is based on something that happened in my home today.  When we got up this morning, my husband asks me to look at the foot of the bed.

There, in the fitted sheet, is a huge hole. (A toe must've caught and ripped it.)

I admit, these were my favorite sheets.  Cranberry red flannel.

Well, the top sheet is still good, so no worries there, but the bottom sheet was ruined.  I start to take it off, and realize I have a good 2-3 yards of nice red flannel. So I cut out the hole, and cut off all the elastic edges so I'm left with a large piece. (After washing, of course!)

Ideas of what to do with it:
* cut into squares with pinking shears and use to decorate the tops of canning jars I give away.
*there's enough material to make a nice flannel skirt.
* cut into pieces for dust rags.
*cut it down, hem and make a dresser scarf.
*cut into strips, braid and make a braided rug.

Well you get the idea.  If you have any more ideas, add them in comments!

Tuesday, January 8, 2013

Homemade Baking Mix and Cheddar Garlic Biscuits

As many of you might know, I've been on a mission to purge as much 'fake' food out of my family's life, without giving up on things I really enjoy, or time savings.

One of those time savers is baking mix. You know, comes in a big yellow box.  The kids really like it, because they use it all the time to make pancakes.  I like its flexibility.

I do NOT however, like the gazillion ingredients I can't pronounce.

However, this Christmas, I got a recipe book that included a 'homemade baking mix'.

Played with it a bit (it was a very large batch!)

and this is what came of it:

4 1/2 c. all purpose flour (I use unbleached)
2 tbsp. baking powder (I slightly heap them)
1 1/2 tsp. salt
1 c. shortening

In a bowl (or if you're time-oriented like me, a kitchen aide mixer) cut shortening into the dry ingredients until the mixture looks like coarse crumbs. Store in an airtight container.


That's it!  It can be stored for _8_ months on the shelf.  I found a great way to mark this. Write the 'use by' date in wet erase marker. It doesn't wipe off, but will wash off when you put it through the dishwasher!

Now of course, this is only as good as what it makes.

Tonight, I had the opportunity to try this out, and made a batch of garlic cheddar biscuits.

Oh. My. Goodness.

Incredibly light and fluffy. Tasty beyond belief.
The recipe? insanely easy.

2 c. baking mix
1 c. buttermilk (a new staple in my house!)
1/3 c. shredded cheddar
1 tsp. garlic powder.

Drop on ungreased pan and bake 8-10 minutes at 450*.

4 ingredients, no chemicals, and amazing taste.

Friday, November 23, 2012

Making the Most: Beef Stock

I've been wanting to make beef stock for a while now. It can be expensive, and is almost always salt laden. And, I don't know about you, but it always seems to taste just a little metallic.

In either case, its not that hard or expensive to make.


It tickles my sense of frugality, because it uses something at is normally tossed out.  The best two pieces to use are femur bones (LOTS of marrow, which is what adds that really beefy-meaty taste) or shanks, which also have good marrow, but also have some meat attached. My butcher sells them already cut up, and not as cheap as I had hoped...perhaps yo will have better luck in that respect!


I had some vegetables (onions, carrots, , while perfectly edible were no longer good for a main meal. Added these, as well as a handful of herbs from my quickly freezing garden (thyme and parsley). I also added in about a cup of dry red wine, a few good shots of Worcestershire sauce and about 1/5 gallons of water....enough to cover everything.

 I let it simmer for about 6 hours. (This is when I miss my wood stove!) After about 2 hours, I pulled the bones up out of the water and used a knife to loosen the now cooked marrow.  Maybe I didn't need to do it, but I wanted to make sure to get all the goodness I could.
 After simmering, I let it cool, then put it in the refrigerator overnight.  As you can see from the picture above, there was a significant amount of fat to be found in the marrow.  I didn't want a lot of that in my stock.  I suppose I could have used a fat separator, but I find this much easier.

 You can see the fat hardened on top of the stock, about a 1/4" deep.  This is easily broken up and pulled out of the pot. 
 I have to admit, I put it aside. I will need to process it more to get the meat particles out, and do some research, but I know it has a number of uses, and I had a whole pint of it, so I threw it in the freezer for the time being.
 Extra benefit...very, very happy dogs who have new treats! (Yes, he is hording another bone...stole it from one of the other dogs.)
 Now, very important. Stock HAS to be pressure canned. Beef Stock (in pints) needs to be canned at 10 lbs of pressure for 20 minutes in my canner. (Check here in case you have altitude issues or are more curious...http://www.gopresto.com/recipes/canning/soups.php )
 Lovely!  This is how they came out; made just shy of a case.

Thursday, November 15, 2012

Frugality or Insanity?

As may readers might have already guessed, I really don't like waste.  So when my beautiful leather couch was ruined. (first the dog as a puppy chewed holes in the leather on the cushions...fine covered that with a blanket...Then, the middle springs became sprung...but the piece d'resistance? The new kitten mistaking it for his litter box. Repeatedly.)  No amount of vinegar, baking soda or other 'odor neutralizers' would get rid of the scent.

So I had to say goodbye to my couch.  Managed to trade a friend for a new/used one, but needed to get rid of this one.

Now, often, if the furniture was still in working order, I would have freecycled it. (Don't know Freecycle? you should. Check here: http://www.freecycle.org/ for more information.)

But no one was going to be able to use this again, not even college kids.

But there was yards and yards of lovely leather.  I couldn't just throw it out.  Didn't matter I wasn't sure what to do with it.

So I carefully took a razor blade, and cut, and cut, until I had all the useable pieces of leather cut off and rolled. The back alone gave me a 7'x3' stretch of leather (rather stiff from disuse) to the 2'x2' pieces from the back cushions that were soft as kid leather from the constant use.

My daughter took some pieces, and make leather bracelets and necklaces from them.  The rest I have stored. Perhaps I'll make a few purses, or maybe, just for fun, I'll try making those viking shoes. (http://earthandliving.blogspot.com/2008/08/viking-shoes-tutorial-sort-of.html).  But the point is, it's still useful, and it isn't in the landfill.

The American Pickers always say, the time to buy it is when you see it.  Same basic principal...the time to harvest, to save is when you have it. Even if I just give it away, It's still fulfilling a use.

Monday, November 12, 2012

The Search for the Perfect Red Velvet Cake

Now, let me start by saying, I'm a Yankee. Born and bred and from WAYYY back. Had never even heard of red velvet cake until I made friends with a woman in Alabama.  She spoke of a cake so moist, so luscious...quite frankly, she made it sound pornographic.

I had to have that cake.

She said she bought it from an old grandmother, who wouldn't give up her family recipe but it used an obscene amount of eggs, was heavier than guilt, and absolutely decadent.

Of course, the first thing I tried was the box version. I readily admit, while I love to cook, I'm not really fond of baking. It was dry, rather tasteless, and far as I could decide, a complete waste of sugar intake.

Strike one.

So, I went to my cookbooks. I tried a Betty Crocker recipe, I tried, I hate to say, Paula Deen's recipe (you let me down, Paula!) I was so sure her southern recipe would be 'it'.

Well, as it happens, My daughter's 16th birthday was this weekend.  We have a few birthday traditions; Daddy always gets the girls roses for their birthday (a rose for each year).  The girls get to pick their favorite dinner. And most importantly, they get to pick their favorite cake.

And of course, she chose red velvet.  I sat there, looking at my ingredients on the counter, afraid to be disappointed once again.

I mentioned this to a Texan friend, Liana...who very excitedly said she had just found what sounded like the most perfect recipe

I'm desperate, so say email it over.

Made it up, amazed it took (get this) TWO whole bottles of red food dye. It made beautiful ribbony batter...weighed each pan, trying to make sure they were roughly the same amount, and each was well over two pounds each.

I was starting to feel a bit hopeful.

They baked lovely. Came out of their pans without breaking (I always found this happens when the cake is too dry.) They frosted without crumbing up, and all in all, were just a pleasure.


But I still hadn't cut into it, or tried it.


(Okay, my cake decorating skills need work. )

We sang happy birthday, blew out the candles, and cut the cake.

The insides were lusciously moist, red-chocolatey goodness. This is the cake my Alabama friend sang high praises for, and felt so badly that I had never tasted a piece of heaven.


Red Velvet Cake

Ingredients:
2-1/2 cups All Purpose Flour
2 cups Sugar
2 Tablespoons Unsweetened Cocoa
1 teaspoon Kosher Salt
1 teaspoon Baking Soda
3 whole Large Eggs
1-1/2 cups Grapeseed Oil (Now I don't know the importance of this...but I did NOT substitute.)
1 cup Buttermilk (I often substitute the vinegar in milk? Don't...It really makes a difference!)
1 tablespoon White Vinegar
1-1/2 teaspoon Vanilla Extract
2 ounces Red Food Coloring (usually it comes in one ounce bottles, so be prepared to buy 2!)

Directions:

Preheat your oven to 350 degrees and line, spray and flour two 9 inch cake pans. Set those aside.
Lightly beat the eggs with a whisk and then add in the oil, buttermilk, vinegar, vanilla and food coloring. Whisk together until combined.
In the bowl of your mixer, stir together the flour, sugar, cocoa, baking soda and salt.
Add the wet ingredients into the dry and mix on medium until combined, scraping the bottom of the bowl once or twice.
Use a kitchen scale and wiegh, or use a measuring cup to divide the batter evenly among the prepared pans.
Bake for 25-30 minutes or until a cake tester (toothpick is fine) is inserted and comes out clean. Depending on your oven, you might want to rotate the pans for even baking. (If you the choice to use convection, I would. It bakes more evenly.)
Run a knife along the edges while still hot. This will make it easier to remove from the pans. Let the cakes cool for 10 minutes in the pans (!) before removing them to a wire rack.
Once the cake cools it's time to frost.

(This recipe has been modified from Simply Scratch: http://www.simplyscratch.com/2012/10/classic-red-velvet-cake.html which also has pictorial directions)


The frosting is a cream cheese frosting. Now if you like REALLY sweet frosting, follow the recipe as it stands...If you're like me, you want to taste the creaminess of the frosting.  My next one I will be cutting the sugar down significantly.

Frosting: (the original creator gave directions for a double batch, in case you like to crumb coat first.  I made it any way, as its good for other things!)

2 packages Cream Cheese, softened to room temperature
1/2 cup {1 stick} Unsalted Butter, softened to room temperature
2 teaspoons of Real Vanilla Extract
8 cups Powdered Sugar (I plan on cutting this down to at least 6 cups.)


Yum!

Wednesday, November 7, 2012

Crab Apples and Fall Gardens

So, so sorry folks!

September was a rough month with 3 consecutive illnesses, and October was catch up from all that should've been done in September.

In other news, I did get to pick those crab apples from the college kids next door.  To make, took all the stems off and washed them. Put them in my biggest stock pot, and covered them with water. 
 Then I boiled them. (I added water to keep them covered.) As they got soft, I would mash them until they looked like this mess. (I know, it doesn't look appetizing!)


 I then strained this through my cheese cloth. (Remember what I learned before? I bought a piece of good cheese making cheesecloth, and put it aside special for my fruit projects.)
The juice that came out was actually quite a bit. I was able to make 10 jars of jelly from it. (I have to admit, the color was a bit of a surprise to me!) This was only about a quarter way through. I had 2 full quarts of juice when done.

Recipe was simple, one cup of sugar to one cup of juice.  This recipe does NOT take any pectin (something I like to know JUST in case).

As I've done before, I decided to try to save the mush... ran it through the mill, and it made an excellent applesauce (never had crab apple sauce before...it was nice and tart!) a bit of brown sugar and cinnamon/clove to taste (I say this without a recipe because it is so dependent on your personal tastes, and the crop of apples you use.)  It gave me 9 pint jars of sauce, so I can't complain.


So, in my continuing attempts to get more for less, after my tomatoes, cucumbers and string beans gave up the ghost in mid August,  I decided to try planting a fall garden.

Now. I made 2 mistakes right from the beginning. First, as I said, it was mid August. In Connecticut, where I live, that leaves a very short window for a fall garden. (It would've been better had I planted the first week in August.)  Second, I planted seeds instead of seedlings.

The crops I tried were mustard greens, bok choy, swiss chard, beets (for greens) and radishes.

Radishes of course, are a very quick growing plant. However the heat within a radish is greatly dependent on the type of soil....Seems my soil makes incredibly HOT radishes.

Note: will not be planting radishes next year.


Beets barely came up at all. Mustard was too spotty as well.  Swiss Chard came in...okay. Enough for a meal.

The Bok Choy did the best of al, but the one row was only enough for one meal. In our house, that's usually a no-go for a plant. If I don't have enough to freeze or can, its not worth it usually.

However, I only used a third of the vegetable garden, and really, the only plants that did anything were the swiss chard and the bok choy.