Tuesday, March 5, 2013

Soaping Up


If you've been a reader for a while, you know I'm a regular little cheerleader, 'Try it, You can do it!'

But occasionally, like advice, we don't always live it ourselves.  Soap, for a long time has been my road block.  I read voraciously about how to make it.  The math and calculations jumbled in my brain, the ingredients seemed exotic and expensive and lye! Don't get me started on that!

I admit it, soap scared me silly.  I usually have no problems taking directions from a reading source, but this was one I just didn't feel comfortable about doing without some physical tutoring.  Fortunately, I had a few friends or friends of friends who made their own soap, and it was just a matter of who was making theirs first.

Now, this was over a year ago, and it was a complete success.  But the point of the story is, we all feel out of our depth sometime, but don't let that stop you learning something you want to know. Find a friend who knows how, take an adult class, ask around; but don't tell yourself you can't do it.

So now it's my turn to make soap by myself. That first batch of soap did have an ungodly number of different fats and oils in it, and yes, most of them had to be ordered online. Luckily, my friend had them all. I liked the soap, don't get me wrong, and will probably (okay, definitely) make more, but the frugal, prepper wannabe in me scratched her head and thought, 'hmm. shipping? cost? These things just might not be available.'  Not only that, but like I said...I usually use the word frugal, but really, it's just a euphemism for cheap.

Now if you scroll back, you'll remember I wrote a blog about making your own beef stock, and how I saved the tallow for later?  I remelted it, and screened it, and let it solidify again. Made 5 cups (along with the tallow from my second batch.) I really wanted to make tallow soap, because well, I had it and it was free, and I didn't want to waste it. I did some researching,and this was one recipe/set of directions I found that I really liked. (though, their recipe used lard.)

Tallow (or lard) are the easiest (and gentlest!) soaps you can make.  The ingredients are readily available.  While I used the tallow I had (marrow tallow) the best really is kidney fat, or suet.  Tallow is also one of the hardest fats there is, so it gives you a good firm bar.

You can make it with just tallow, water and lye. It's really that simple. But the same friend who taught me said the cleaning power wasn't as good as some.  This is  a fantastic chart that I really have been using.  It seems very complicated as you read below it, but if you're a math or science type, it might help you get your head around it. (I admit, it only made sense to me AFTER I'd  made it.) However, it was able to tell me what other fat I could add to boost its cleansing power.

Before I start, let me say that I will not be sharing the recipe I used today. I basically made it up using a soap calculator, a wonderful tool that allows you to plug in the amounts of fats/oils you will be using and number crunches the amount of lye and liquid necessary. As such, its not a tried and true recipe, and as its not cured, I don't know how well it will work.  There are thousands of soap recipes out there, find one you think you like, and try it.

Second, soap-making is pretty darn easy, but yes, it CAN be dangerous.  Use all pyrex type glass or stainless steel materials.  Wear eye protection, no matter how silly it makes you feel, and rubber gloves whenever you are dealing with lye. (Trust me, you do NOT want a lye burn!)  You want to be in a well ventilated area. (I thought I was in a well ventilated place; I'm prone to migraines, and it triggered one, so take this one seriously...If you can, do it outdoors.)

Lye sadly, is used in the making of meth amphetamines, so many places that used to carry it, no longer do. Check your hardware store, it is used as a drain clearer.  Some areas (especially those prone to trouble with drugs) may ask for ID, etc.  Don't worry, it's not you.

Okay. Enough of the 'scary' stuff.

There are only 3 real steps to making soap. 

1.You need to melt the fat.  You can do this in the oven, on the stove top or in the microwave.  When I made this batch, I did it in the microwave. I put it in a minute at a time, and stirred it.when you see a few cloudy clumps left, you can be done, as it will 'coast' the rest of the way to fully liquid.  You will want to use a temp gauge on it. You will eventually want your oil between 100*-125*.


2.You need to make your lye solution.  When you do this, follow your recipe closely as to amounts.  IF you do this inside (which I really don't recommend) make sure its on a pot holder, or something that heat won't affect. When you add lye to liquid, there's a chemical reaction that gets it really hot. Also note, it changes color (yellow to dark brown, depending on your type of liquid).  And, NEVER add liquid to lye, always add the lye to the liquid.  Spilled lye can ruin countertops as well, so keep that in mind.  This also needs a temp gauge in it.  It will first get really hot, and this too, needs to be between 100*-120*
(Yes, this is outside on my patio.  It looks a bit lumpy because I used cream as my liquid, and because frankly, it was cold outside, so the temperature was dropping quickly.) 


3. When the temperatures are right (the closer they are to each other, the better) Pour the lye solution into the fat. You will need to blend this with an immersion blender.  For quite a while, actually.  Since my Kitchenaid has a stainless steel whisk and bowl, I felt comfortable enough to put my soap mixture in there (only after my immersion blender got so hot, I was afraid of burning it out.)  You don't have to blend it continuously after the first 15 minutes.  5 minutes after a 10 minute wait until you reach trace should be fine. If you have ever whipped homemade whipped cream, its about to serve you in good stead.  Your soap mixture texturally is like your fresh heavy cream. It has some substance to it, but is essentially liquid.  As it blends, you will feel it get thicker, and thicker, until the liquid can hold the shape along the surface of your machine of choice.  And just like cream, if you blend it much more after that, it will get hard.  At the point of trace, add your essential oils for scent if you'd like them. (Be aware that citrus, unless mixed with an anchor oil-something I'm not completely straight on yet--will 'vanish'  by the time its finished curing. This is how my cardamom lime soap turned into just cardamom soap.

3b. Stir in the scents well, then put into a mold. At this point, the saponification has already started, and you won't get burned by the soap. Now, you can buy fancy silicone molds, or if you have them for cakes, or whatnot, you can certainly use them. At this point, its only soap, nothing harmful. But they don't' have to be.  You don't want a shallow pour, and you want something you can easily remove from. 1/2 gallon milk or juice containers work well, but I don't buy much of either these days.  So I took a box, cut it down, and lined it with wax paper. The smaller one in the picture was just in case I had too much.


Soap needs to dry slowly.  If it cools to quickly, you can end up with cracks.  So you will want to wrap your mold in a towel overnight to let it cool slowly.  Check your recipe for how long you should let it stay in the mold.  I took mine out earlier, because with mostly hard fats, I wanted to make sure I could still cut it. 


Put them on a drying rack (a cooling rack is fine--this is the picture at the top of the page.)

Depending once again on your recipe, curing times are usually 4-6 weeks. This is not time for it to chemically change, that's done in the first 48 hours, but its time for more moisture to leave the bar.  The longer you wait, the firmer your bar will be and the slower you'll go through it.

My plan for this soap is to use it to make my laundry soap.  I'll make sure to comment or blog how that goes when it finishes curing!


Friday, February 15, 2013

Making the Most--Rendering Lard

Before you start to holler, meat is murder...
Yes. It is. I readily admit I am an omnivore. But if something is going to give its life so that I can eat, I want to make sure I don't waste any of it.  You've seen my postings on making bone stock.  Well, the same can go for fat.

That being said, if you have ever had REAL pie crust made with good lard, or in bread instead of shortening, I won't need to cajole you.  Many store bought lards are partially hydrogenated, which is the BAD fat, or else they include other oils, such as canola.  Shortening and margarine are just one step away from being petroleum...do you really want that in your body?  If you've been reading my blog for a while, you know my feeling on real food.  And lard (as well as tallow--beef's version of lard), my friends, is real food. Yes, its still a fat, but its actually a  healthy fat.

You want pork fat, with little to no meat as possible--seriously, it can affect the flavor. Dice it up as much as you can (I like 1 cm cubes as close as possible) the smaller and more uniform your pieces, the more evenly the oil will be expressed and the more oil you'll get. I've actually read of people putting it through a meat grinder first, but have never tried it.

In a very clean pan, (I use a saucier) you want to cook these at a medium heat, stirring regularly.

**NOTE** Bacon fat is NOT lard!  I know, you're likely scratching your head saying 'wait, bacon is pork!'

Yes friends, but it is also smoked pork. If you're lucky and it's artisan, you only have smoke to deal with, but if it's bought, there are all sorts of nitrates, etc in it to 'cure' it.   This would not work as baking lard.  Keep bacon fat separate if you keep it at all!


Once you start cooking it, you will see a nice clear looking oil appear. You will want to keep cooking until the fat pieces all look like nicely brown crispy critters. These are called pork cracklins.  You can salt them and eat them like chicharrones, (pork rinds--at right) or use them to flavor things like collard greens. If you are the nervous sort, or the sort that doesn't pay as close attention as you know you should, please keep a tight fitting cover nearby, just in case of a grease fire.  However, I have to say, I've never had a problem, nor known anyone who has, but it is always better to be safe than sorry.


 In a sieve lined with 4-6 layers of cheesecloth, pour the hot grease into a mason jar.  Another helpful hint.  You really want to use wide mouthed jars for this. Yes, you can pour it into a regular jar, but once it solidifies, are you going to want to fuss with the shoulder of the jar to dig out the lard when measuring?

Me either.

Once cool, cover and put in the fridge. You don't have to keep it there, any cool, dry, dark place will do, I just find it more convenient there.  I'd say it'd last forever, but you'll use it up before then. You DO want to make sure there is no water in it, as it can cause it to turn rancid.


This method is sometimes called the 'dry' method.  As I previously mentioned, you don't want water in your final product.  As long as you watch it closely, it shouldn't be a problem.


The other method is called the, you guessed it, 'wet' method.  This requires using water.  With pork, you would process it the same, but start the pan with water in it.  I find a form of this method easier to use when I make tallow.  Saving the fat as it cools on top of the liquid, then reheating and filtering the same as in the hot method.

 The wet method does give you more control over the heat, and thus, more leeway in your attention, but you cannot have any water at all left when you strain. Theoretically, it all boils off before then.  I know some people swear by it, but if I know even a little water can cause problems, well, I'd rather just skip it.


Sunday, February 10, 2013

Lotion Bars

So here's the story.  I'm a swapper.

Mind out of the gutter folks.

Popping up across the country, in various farmer's markets and private groups, it's the idea of trading home goods ...could be eggs for pickles, or brandied cherries for homemade soap. I read about the idea on the Hip  Girl's Guide To Homemaking, by Kate Payne.  I thought the idea was a keeper, and did some hunting around, and found a local one. A great place to look is The Food Swapper Network.

In either case, I'd made a swap this fall, (the canned pears? or maybe rosehip lemongrass jelly...but I digress) for a lotion bar.  It was a last minute swap, and I thought what the heck.

One of the best swaps I made all summer. It was tangerine patchouli, which while I know its popular, is not one of my favorite scents.  It worked amazingly well on those really hard callussed and constantly cracking places, like heels.  But sadly, i'ts nearly gone.

Since I couldn't get an answer from the group as to who made it, or the recipe, I did some hunting around and researching.

I already knew that the scent I wanted was cedar lemongrass. (It's one I use in massage oils, very nice.)  The recipe is as follows:

1/2. c (2 oz.) coconut oil (I could find this at Walmart)
1/2 c. (2 oz.) shea butter (this is the raw stuff, not shea butter lotion-had to order online)
2.5 oz (by wieght on this one) of shredded beeswax OR
2/3 c. beeswax pastelles
1 tsp. vitamin E oil (This is to increase shelf life.)
essential oils for fragran.

 I added the frangrance oils by smell, but it was a BAD idea.  When it is in liquid form, some smells just hide, and come back out when they are cool.  Like soapmaking, some smells don't translate as well in the lotion bars. Because I did it by smell, I ended up having to remelt them, and adding more cedar oil.  In addition, remember that some oils are more harsh for senstive skin. I also found that citrus oils (lemon, lime, orange, etc) should not be added if you plan on wearing in the sun.

You will need to put your ingredients (except the essential oils--heat can ruin some) in a pan.  This is where I disagree with other recipes.  Most say you want to melt these over a double boiler, or in a water bath.  However, the same recipes state that introduction of water can ruin your bars! so I don't want water near it.  Hence, I take the very low, very slow, and watch like a hawk approach.on low it took about 10 minutes to melt entirely.

While it was melting, (The picture is about halfway through the process) I took out my 6 cup cupcake pan and put in paper cupcake liners. 

When it is ready, the oil will be completely clear, and look as though you just poured canola oil in the pot. After it is all melted,  add the essential oils.


This recipe will make 6 cupcake sized lotion bars, but if you have silicone molds, go for it, they'd work just as well.
After filling, I made sure to use all I couldn't scrape out of the pot on myself.  It doesn't need to cure or anything, and I hate waste.


 Ten minutes into the cooling process.  My house stays rather cool, and they won't truly harden well for about 24 hours.  But after about a half hour, they are solid enough to move around.  Your body heat will cause them to soften, so they need to be stored in a relatively cool place. I also package these, for that exact reason.
Price Breakdown, main ingredients cost me about $25.  But with that, I have enough to make at LEAST 4 batches (I suspect 6.)which breaks down to somewhere between $1.04 and .69.  This price would vary wildly, depending on the essential oils I choose to use.That being said, the beeswax and shea are both very pleasing, and you might choose not to add any frangrance at all!

(Main recipe came from Everyday Paleo which you can see here. They have some other great ideas!)

Wednesday, January 30, 2013

Non Chemical All Purpose Cleaner

so I ran across this recipe (if you want to call it that) just at the right time.

You know--when you actually have the ingredients handy. We had gotten a bag of navel oranges from my mom, so as we ate them (they were yummy) we put the peels in a quart sized widemouthed jar.

When its full, cover them with plain white vinegar.

 Let them sit.  Directions said 2-3 weeks. I admit, I stopped at a week, as I was already dabbing in and using it with success. I had 3 quart jars, and you should turn them at least once a day. (I did 2 or 3 times a day.)  The vinegar pulls the orange oil from the skins.  To be honest, you couldn't even really smell the vinegar after the second day.
 Strained the liquid using a double layer of butter cloth. (cheese cloth used for cheese. Much finer weave. You could use regular cheesecloth, but I'd use 4-6 layers of it.)
This is what it looks like when done. (this is a half gallon jar).  I have read that some people 50/50 this with distilled water and put in a spray bottle.  I might do this for my cabinets. But I'd still want to have access to it at full strength to clean things like my stove. (look below)

Friday, January 18, 2013

Frugal Laundry Soap

As I continue to try to find ways to save money and live healthier, I've looked at the cleaners in my life. I've learned to make my own, homemade soap, made it into liquid soap (another blog to come up soon!) use baking soda and vinegar in myriad ways. (newest favorite use? Vinegar as fabric softener.)

There are a few cleaners that I'm working on ridding myself of.  Toothpaste is high on the list, but I know I won't shift my family from their traditional usage.  Floor cleaner is another.  But a few days ago, I tackled laundry soap.  Since I do the bulk of the laundry, this showed promise.

I've known for a couple of years that to make laundry soap, I would need borax.  Looked in hardware stores, grocery stores, etc. and hadn't been able to find it until recently.

There are a few recipes out there, and after reading and patching together, this is what I came up with:


1c. Borax
1c. Washing Soda (can't find it? read this tutorial here on how to make it!)
1 bar of soap, shredded (not beauty bar. Fels naptha is an excellent choice, Ivory would be--though I'm personally allergic.) between 5-8 oz.
1/2 c. baking soda (not to be confused with washing soda)
another possibility that I found in a number of recipes that I didn't add, but you could, is a cup of Oxyclean. 

First, you are going to need to shred your soap. Use the fine side of a shredder. (Thank goodness I got a box shredder for Christmas!)
Now, I will also say, I made a double batch, and the second bar of soap was one of my homemade varieties. When I shredded it, it was a much moister, softer soap than the Fels-Naptha.  My mother had also told me, that the Fels-Naptha became popular during WWII because of its ability to wash in hard and salt waters. So for me, I feel more comfortable using half and half, than ALL homemade soap.)

Now, while Borax is NOT boric acid, it is caustic to your eyes.  It is also dusty, which I knew, but didn't take into consideration.


Please learn from my mistake, and even if you feel a bit foolish, wear eye protection.

I had put all the ingredients in my gallon glass jar, and started to mix it up--and flung some right in my eye.

Tip of the day:
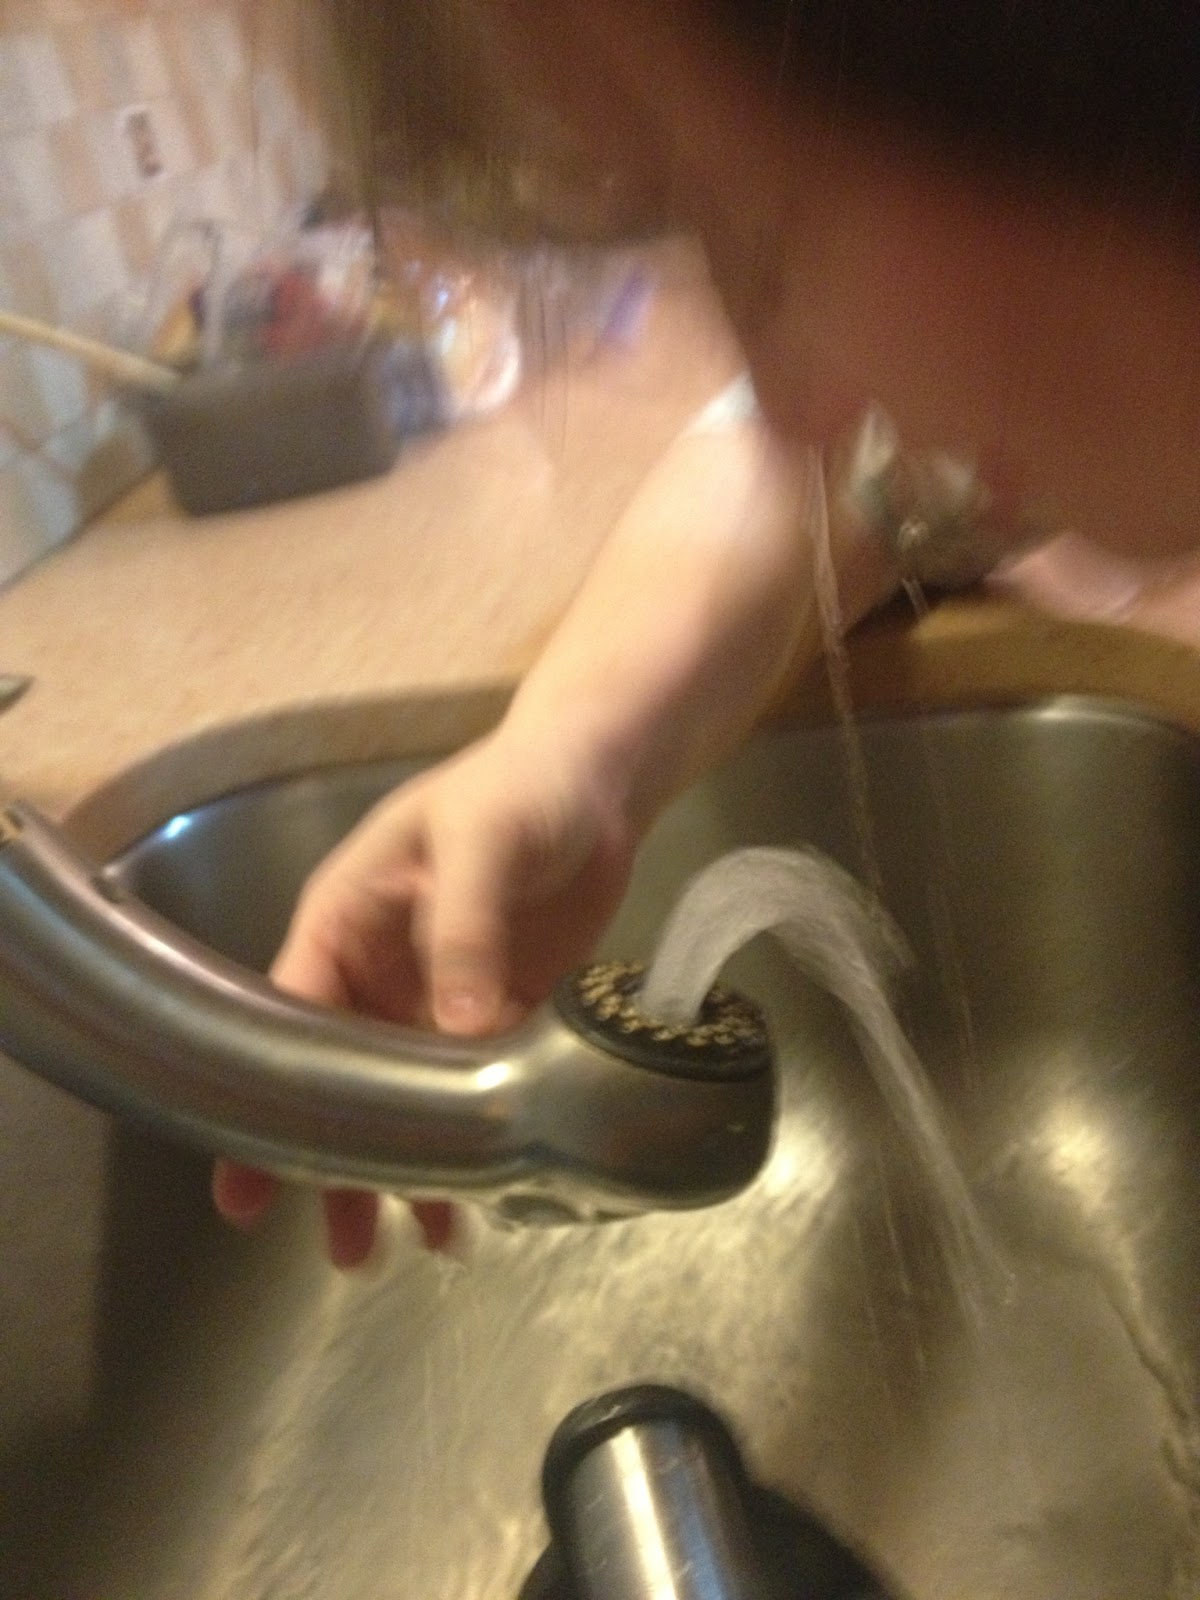
If you have a pull out sprayer on your sink. pull it out, and flip it upsidedown. Turn the water on only slightly, enough so it bubbles up about an inch over where the water exits on cool, but not cold. This will allow you to use this as an eye wash.  Use for 5 minutes, blinking your eye slowly.  You may want to use eye drops after to return the salinity to your eye.

Some bloggers/creators suggest after shredding your soap, putting it through your blender.  I have to admit, I didn't like this idea.  It's only soap. I get that. So what I did instead was use my immersion blender that I use for making soap.  I wouldn't let it run continuously, but would shimmy it around and work in pulses.  The shaft of my comes off, so in future batches, I'm going to cut off the top of a soda bottle, fit it on the shaft to create a sort of splash guard over the top of the jar as it can kick up dust if you aren't careful.

The result is safe to use in front loading HE washers, and takes 2 tablespoons. I use an old medicine cup to measure out the soap. (I think the scoops from powdered lemonade, etc would work as well.)

The laundry came out of the drier smelling like I had hung them out on the line--beautifully fresh, and soft and clean.  Bonus too, my washer, which can sometimes smell a bit mildewy also smelled clean!

I've heard cost breakdowns between 3-5 cents a load. Since half my soap is homemade, that would go down, and when I run out of bought washing soda, I'll make my own--which costs about 1/2 of what you would buy it for, even less still.

The last note is in all my reading, I have heard this soap is very hypo allergenic, so it can replace baby laundry soap and be used for people who have other soap allergies. (of course, this probably wouldn't be true for everyone...but in general a good thing to know!)

Tuesday, January 15, 2013

Re-utilizing old sheets

Today's quick tip is based on something that happened in my home today.  When we got up this morning, my husband asks me to look at the foot of the bed.

There, in the fitted sheet, is a huge hole. (A toe must've caught and ripped it.)

I admit, these were my favorite sheets.  Cranberry red flannel.

Well, the top sheet is still good, so no worries there, but the bottom sheet was ruined.  I start to take it off, and realize I have a good 2-3 yards of nice red flannel. So I cut out the hole, and cut off all the elastic edges so I'm left with a large piece. (After washing, of course!)

Ideas of what to do with it:
* cut into squares with pinking shears and use to decorate the tops of canning jars I give away.
*there's enough material to make a nice flannel skirt.
* cut into pieces for dust rags.
*cut it down, hem and make a dresser scarf.
*cut into strips, braid and make a braided rug.

Well you get the idea.  If you have any more ideas, add them in comments!

Tuesday, January 8, 2013

Homemade Baking Mix and Cheddar Garlic Biscuits

As many of you might know, I've been on a mission to purge as much 'fake' food out of my family's life, without giving up on things I really enjoy, or time savings.

One of those time savers is baking mix. You know, comes in a big yellow box.  The kids really like it, because they use it all the time to make pancakes.  I like its flexibility.

I do NOT however, like the gazillion ingredients I can't pronounce.

However, this Christmas, I got a recipe book that included a 'homemade baking mix'.

Played with it a bit (it was a very large batch!)

and this is what came of it:

4 1/2 c. all purpose flour (I use unbleached)
2 tbsp. baking powder (I slightly heap them)
1 1/2 tsp. salt
1 c. shortening

In a bowl (or if you're time-oriented like me, a kitchen aide mixer) cut shortening into the dry ingredients until the mixture looks like coarse crumbs. Store in an airtight container.


That's it!  It can be stored for _8_ months on the shelf.  I found a great way to mark this. Write the 'use by' date in wet erase marker. It doesn't wipe off, but will wash off when you put it through the dishwasher!

Now of course, this is only as good as what it makes.

Tonight, I had the opportunity to try this out, and made a batch of garlic cheddar biscuits.

Oh. My. Goodness.

Incredibly light and fluffy. Tasty beyond belief.
The recipe? insanely easy.

2 c. baking mix
1 c. buttermilk (a new staple in my house!)
1/3 c. shredded cheddar
1 tsp. garlic powder.

Drop on ungreased pan and bake 8-10 minutes at 450*.

4 ingredients, no chemicals, and amazing taste.